Now, getting back to warranty claims. Today I’m going to talk about the define actions step. This is another piece connected to my last 2 warranty claim posts. Defining an action is the piece that does the work. Last post we walked through creating/changing a status. Today we talk about the action, so after all of this, the process control will make sense 🙂

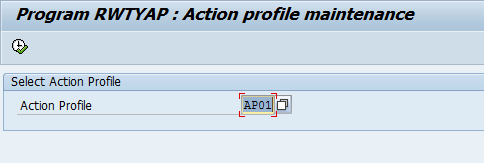
Start at OWTY to get to the configuration.
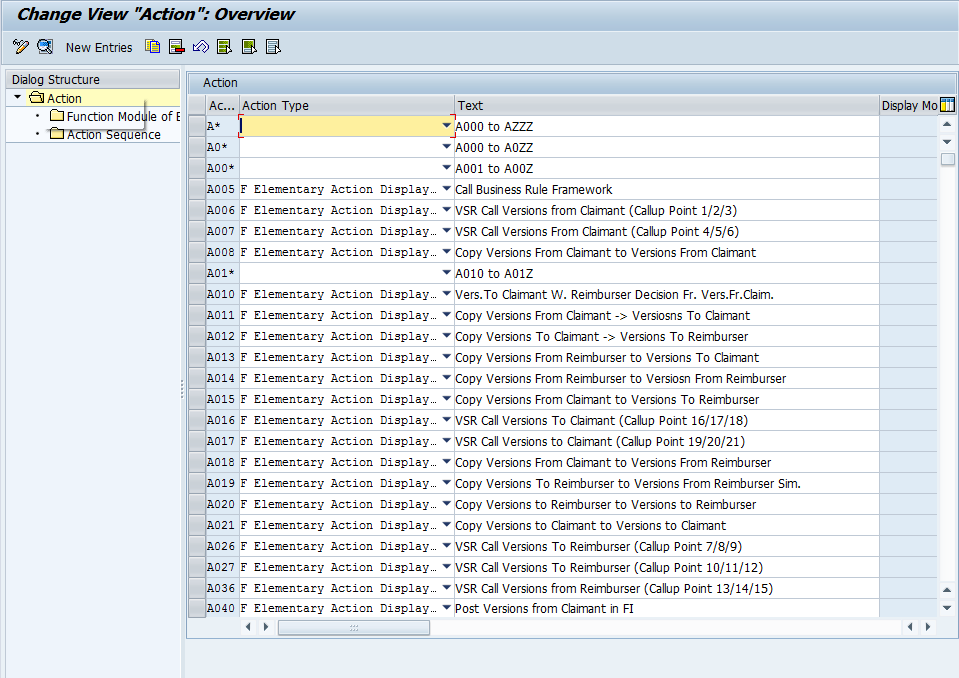
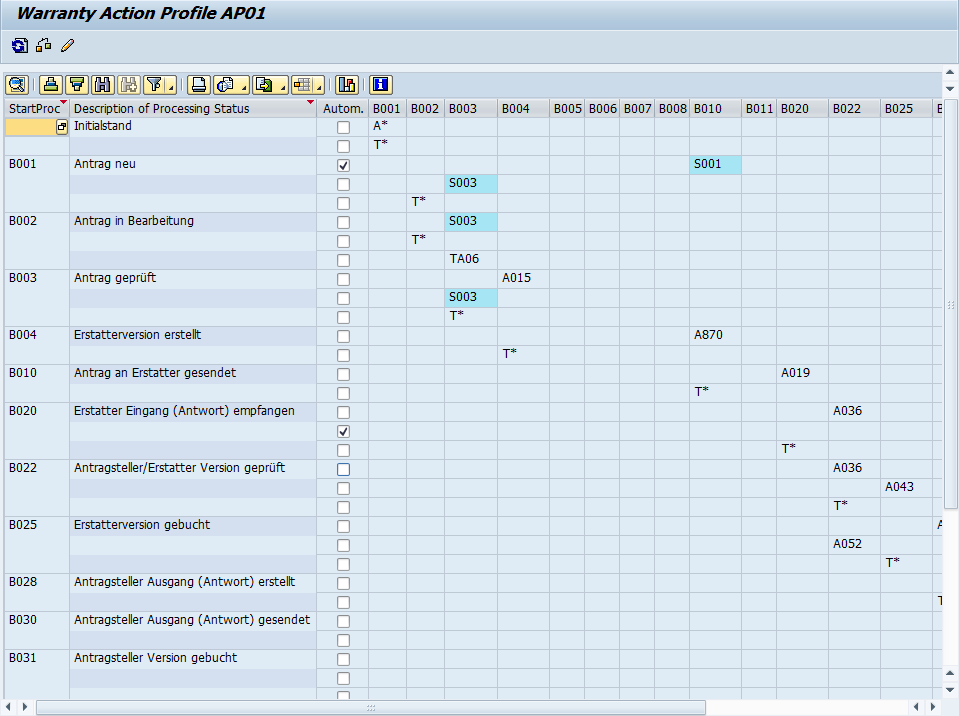
Now, the first thing you’ll notice is that there are a LOT of actions available. There are 4 types of actions:
Elementary Action Displayed in Action Box
Elementary Action Hidden in Action Box
Interlinking Action Displayed in Action Box
Interlinking Action Hidden in Action Box
Elementary Actions are exactly what they sound like. They perform exactly 1 function.
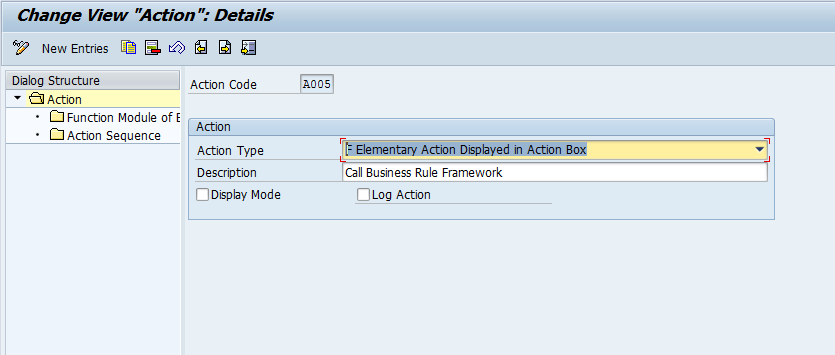
Now, I picked the A005 to show you the action details. Notice you can set the action type & the description. In addition, you can check Display Mode, which means the action can be called, even in display mode. Finally, Log Action check box allows you to include this action in the log for the claim (in my opinion, all actions should be logged… of course, I’m a big fan of seeing what’s happened in the past).
Now, if we move onto Function Module of the Elementary.
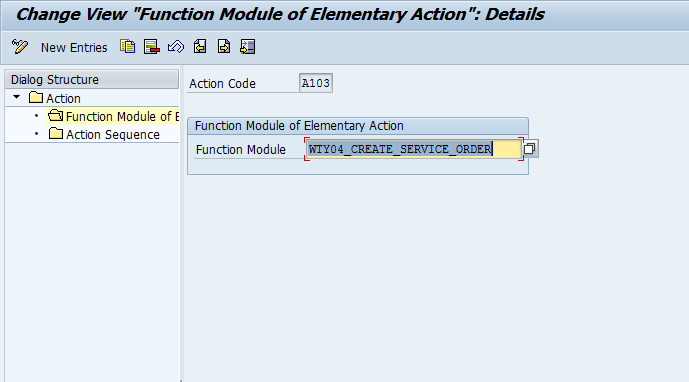
This time around, I selected action A103, and you can see the function module that gets called .
Now, if we look at an interlinking action.
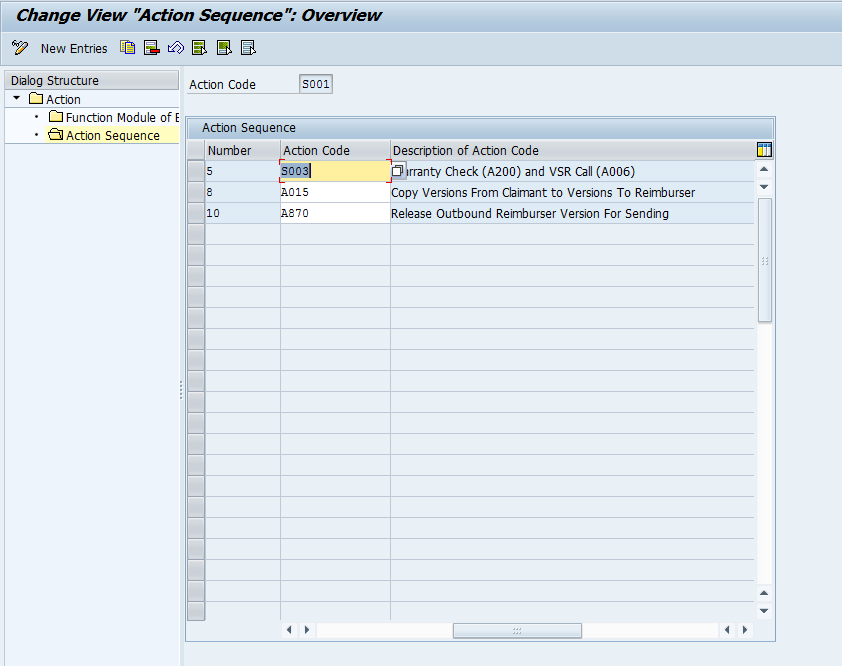
Notice, now you can chain together several elementary functions. Doesn’t matter if it’s hidden or displayed. This is fun functionality, since you can pull together multiple steps at once, so the user doesn’t need to perform multiple actions to accomplish a task.
So, that’s the define actions step. Thanks for reading,