Netweaver Gateway

Home / SAP / ABAP Coding / Archive by category "Netweaver Gateway"
Netweaver Gateway – Using Expand

Netweaver Gateway – Using Expand

I’ve recently started to move a new product onto UI5, and of course, that has open up new areas for me to explore.  The most recent was display the notification.  Initially, this sounded so easy.  Unfortunately, when you look at a document, there are many different tables associated with a single notification.

Header, items, tasks, etc.

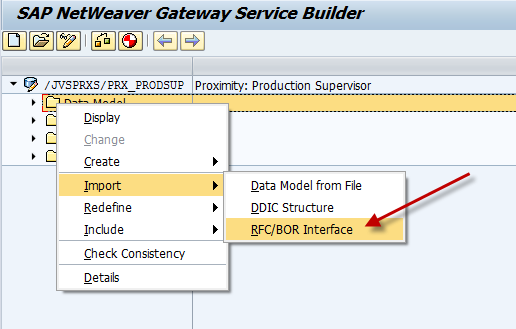
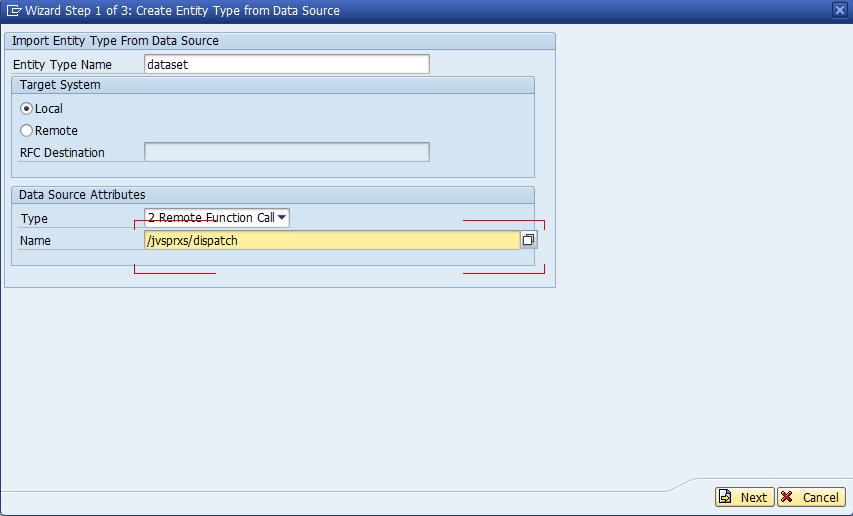
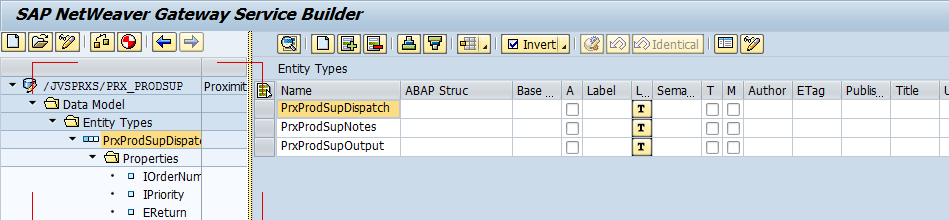
I wrote my RFC to accept a single input of notification number, but the output consists of header and a bunch of tables.  Of course, for UI5, having a structured OData is far easier to work with, instead of doing a whole bunch of reads to the same RFC and tie them together myself.  Luckily, I found a great blog post that showed me the major things I needed to do:

http://scn.sap.com/community/gateway/blog/2014/07/18/implementing-expand-entityentity-set

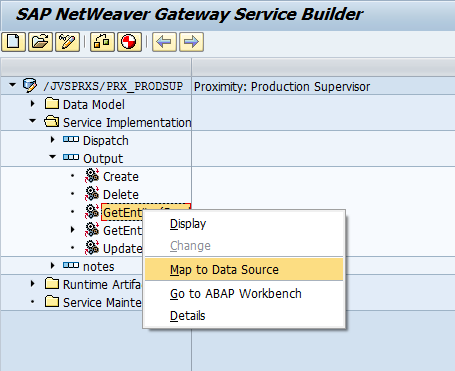
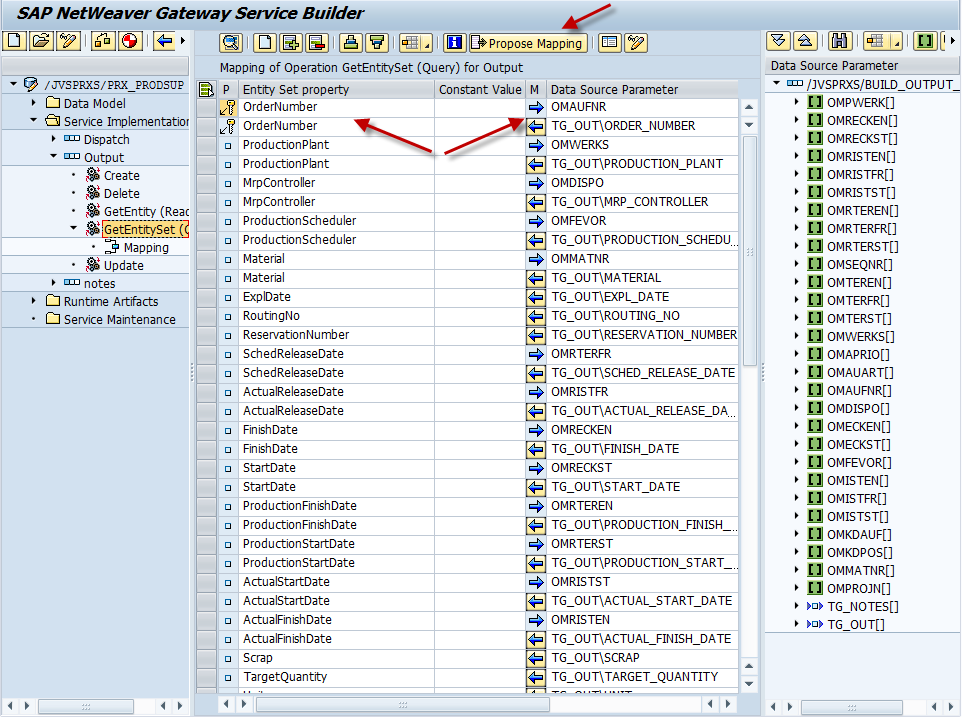
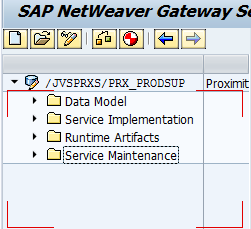
Now, of course, this requires some work on the service side as well as in the coding.  So on the service side, you need to tie everything together with associations and navigation to connect the header to each of the individual tables.  Next, you go to the DPC_EXT class, and update the get_expanded_entityset method.  In this method, you need to build your structure.  You can make this as deep as you want, but this will make your service easier to use on the UI5 side.

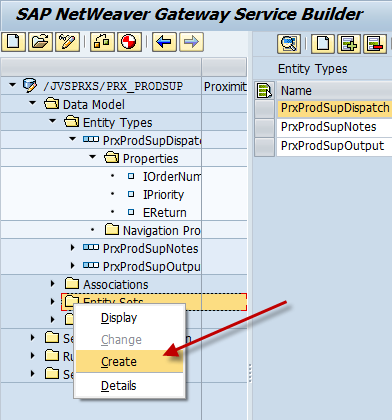
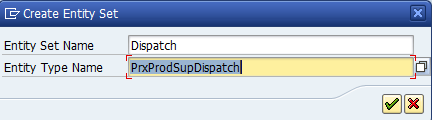
Now, you can use the expand command within UI5 to say what pieces to pull out.  One thing I discovered while doing this, if you manually create each step of the association, my service had difficulties reading the expand.  So make sure you right click on Associations and select create.  This will walk you through 3 steps to make the connections.  For some reason when I manually built the pieces, my service couldn’t expand.  It might be my old version of the Gateway, but keep this in mind.

Thanks for reading,

Netweaver Gateway – Service Implementation

I’m finally getting back to the Netweaver Gateway stuff.  This piece is the most powerful, and also the most complicated.  I struggled with this for a while, so it’s a good idea for me to explain it and make sure I don’t forget myself 🙂  I’m going to focus on the query implementation, but all of the options work the same way.

segw01-01

Open up the Service Implementation folder, then open the entity set you wish to map.

Create – Use this to create a new entry.
Delete – Use this to delete an entry
GetEntitySet(read) – use this to read back a single entry
GetEntitySet(query) – use this to read back an entire table.
Update – use this to update an existing entry.

Now, one of the things I’ve found is that for most of these entries, it really all does depend on your RFC that is being called.  For example, you could likely call Create or Update using the same RFC and it would work, as long as your RFC code was properly defined.

segw01-02

Now this screen shows you a completed mapping for the query operation.  Depending on your RFC and how you defined things previously, you can use the Propose Mapping button to fill in all of the fields for you.  Or, you can drag and drop from the right hand window.  Now, one of the things that I originally had issues with supplying the inputs for my RFC.  What I discovered, is that in Netweaver Gateway, you can have the same parameter show up multiple times, once as an input and once as an output.  All you need to do is point it to the correct field.  If you look above at the OrderNumber field, you’ll notice that it’s listed twice, once with an arrow pointing left (output) and one with an arrow pointing right (input).  If you look in the mapping field, you’ll notice that the input and output point to different fields.

Like everything, you must know your RFC to do this correctly.  Then, if you need to use the same field again, you must use the insert, select the field from the list, press the arrow until it points to the right, and finally select the mapping field from the RFC that should be the import.

At this point, if you have the gateway configured, you are ready to test and connect it to your mobile app 🙂

Thanks for reading,

Netweaver Gateway – Creating the Entityset

In the last post, we created the entity for our service.  One of the next pieces is the entityset.  This is a really easy piece, but still required in order to complete the service.  We go back to SEGW.

segw2-01

next…

segw2-02

Name your entityset, and pick the entity you want to link to…  Now you’re ready for the next step…  we’ll get there in a future post.

Thanks for reading,

Netweaver Gateway – Creating a Service from RFC

Well, picking up where we left off on Netweaver Gateway.  Last time we created the project, now it’s time to actually create the service.  In my example, I have already created an RFC to feed the information I need to the service.  So, here’s how to do it.  Return to transaction SEGW.

segw03

next…

segw04

Here, you need to give it an entity name.  This is what you’ll be using going forward.  Select the type as Remote function call, and then list the name of the function.

segw05

Now we get to the magic.  The RFC has now pulled in all the inputs and outputs from the function.  Now, you check the fields you want to make part of your “entity”.  The entity will contain the fields that you plan to extract or feed into your service.

segw06

After you select the fields you want, you must define at least one key.

segw07

Now, you have the entity.  With this piece, you’re ready to start doing something with the data.

In a future post, I’ll talk about the next steps for the service.

Thanks for reading,

Netweaver Gateway – Creating the Project

Well, since I recently spoke about using the gateway client, I figured I should talk about creating the service to use the gateway client.  The first step in this process is creating the project.  Like so many things, you must start small in order to build…  so let’s the netweaver gateway project and get this party started.

First, go to transaction SEGW

segw01

Press Create.

segw02

Now, put in the project name, description and package.  For me, I do everything within my own namespace, so notice how both the project and the package must start with the namespace.  Press the green check and you have your project.

segw021

In future posts, I’ll walk you through the next steps.

Thanks for reading,