This is something within claims that I’ve always wanted to figure out, but until recently, I just didn’t spend the time to do it. turns out, it’s a very cool feature. The idea behind a validation is that you can create your own custom rules without any development. The rules will then check fields based on your requirements. If they are blank, or incorrect, you can flag a message to correct the field.
Here are the basics of creating a validation.
using transaction OWTY, go to the following portion of configuration:
Warranty Claim Processing -> Control Data -> VSR Checks -> Specify Validations
Once you enter the transaction, you will need to drill down to the warranty section. You will notice there are 21 different branches under warranty. Although they are not labeled, these correspond to the boolean classes.
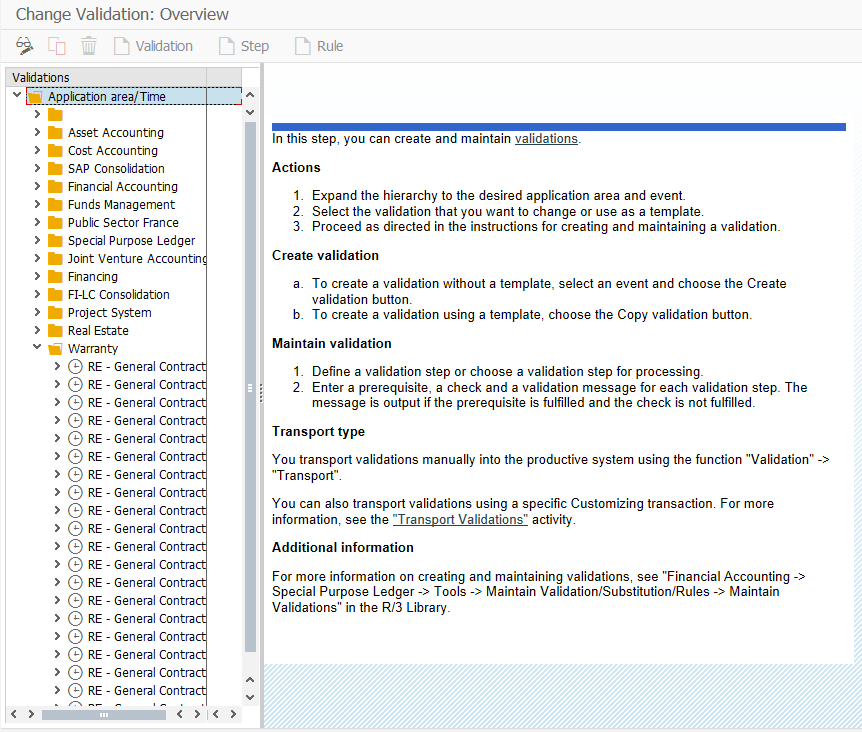
Highlight the folder you wish to add a rule to and press the Validation Button
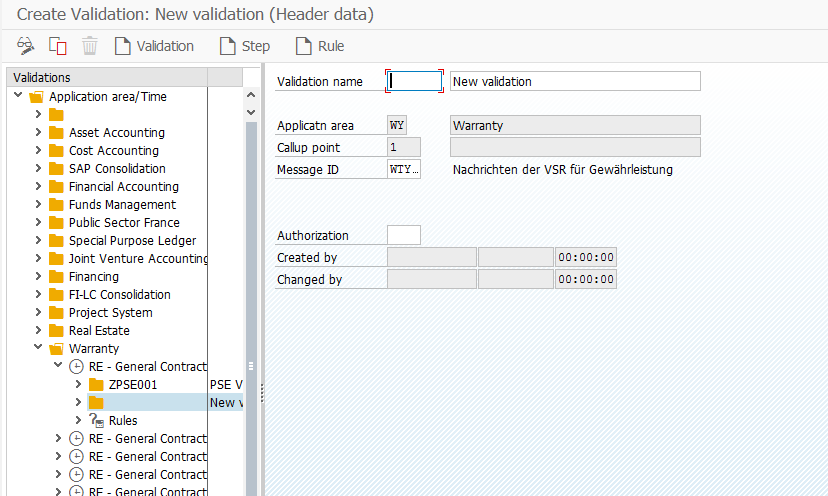
Enter in the following information:
Validation Name: the key for the validation.
Description: description of the validation
Message ID: the message class that will be used. By default, WTY_VS. However, you can assign your own message class to get the errors you want.
Authorization: The authorization group allows extended authorization protection for particular objects. The authorization groups are freely definable. The authorization groups usually occur in authorization objects together with an activity.
After populating this information, press the create step button .
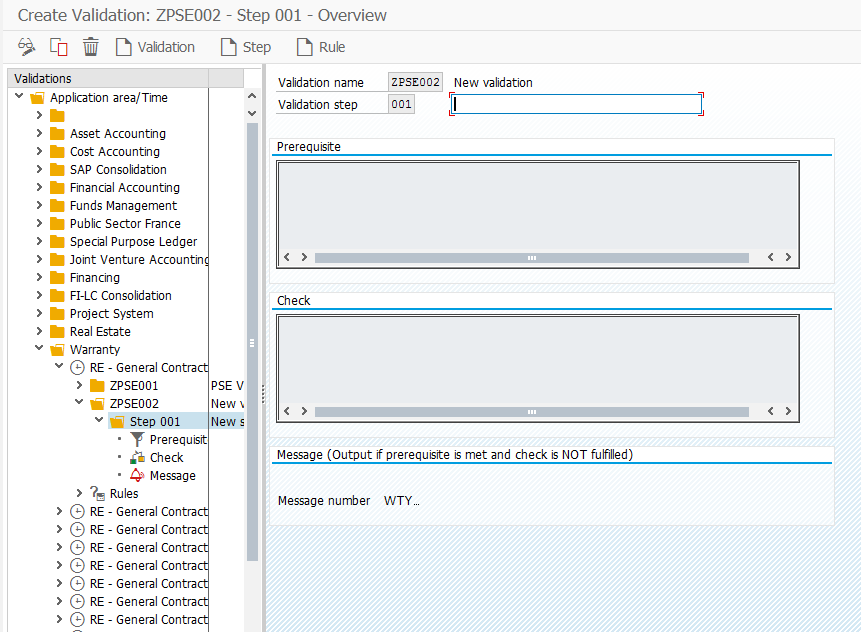
Now we get to the real work. Within the step, there are 3 pieces.
Prerequisite: here you enter in the conditions that must be met.
Check: this is the actual validation that is occurring.
Message: this is the message that is displayed if the VSR check is false.
The best way to understand this is with a demonstration. So I will show you a simple validation that checks if the reference date has been populated, but only when the claim type is Z005.
Select the prerequisite from the menu.
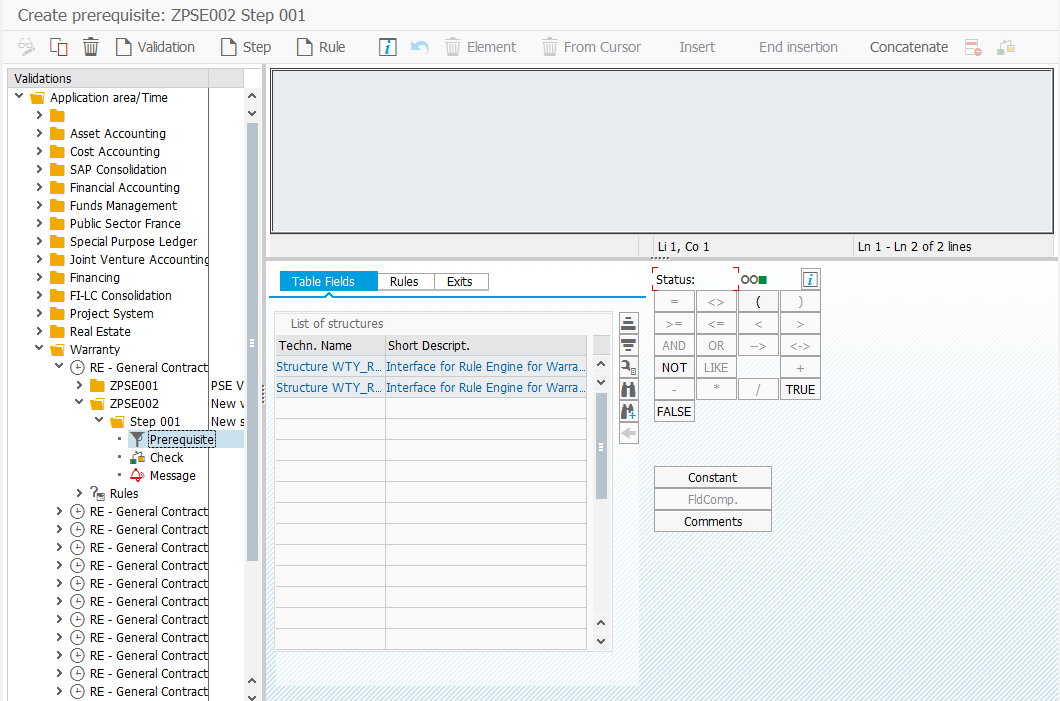
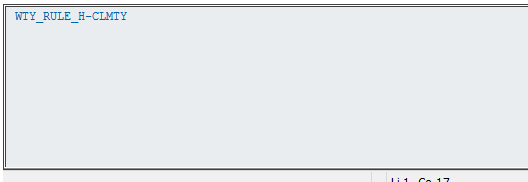
First, from the list of structures, select the second table: WTY_RULE_H and double click to bring up the field list. Scroll down to WTY_RULE_H-CLMTY and double click. The table and field name will now be shown in the top window.
Next, from the Status section, double click =.
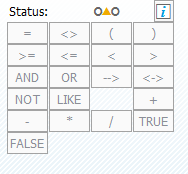
Next, press the Constant button.
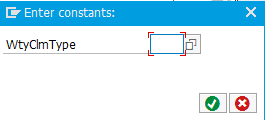
Select or type Z005 and press enter. Now you will see the completed the formula.
![]()
Next, select the check.
Repeat the steps above to build the formula: WTY_RULE_H-REFDT > ’01/01/1900′
Note: I had trouble making WTY_RULE_H-REFDT <> ” work properly, so I adapted the formula.
Finally, press the message.

Description: Enter in a description.
Message type: E or W or I
Message number: Do the pull down here to see the messages available.
Message variables: If the message has variables, enter them bottom section.
Save the validation.
Use Transaction: WTY_VSR_ACTIVE to activate the VSR checks. I’ll talk more about this in a future post.
Thanks for reading,