Here’s the full process to add an item to the action box.
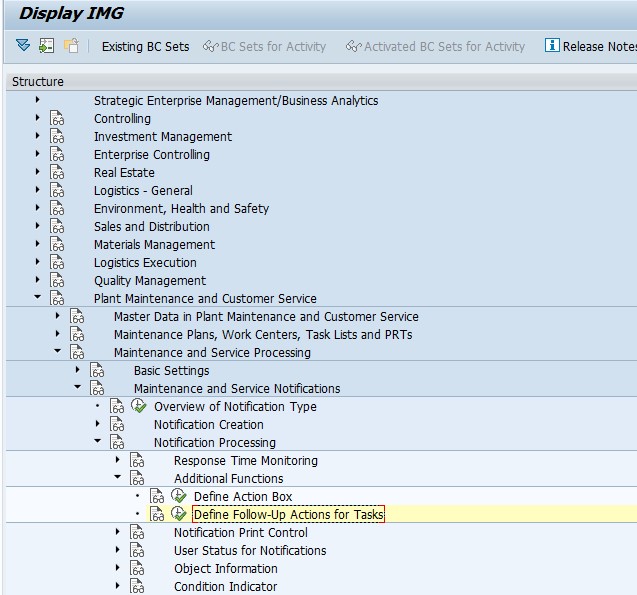
Define Action Box
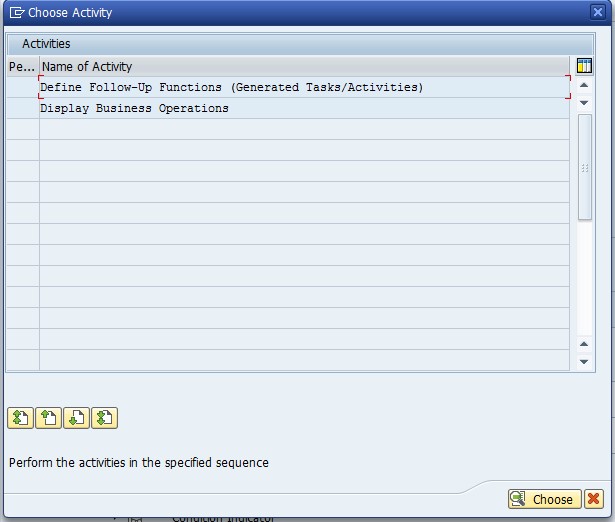
Select: Define Follow-Up Functions (Generated Tasks/Activities)
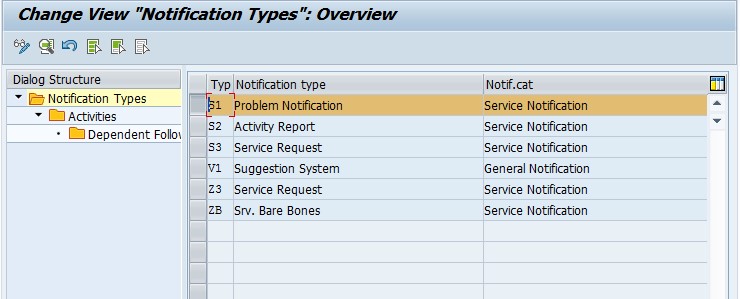
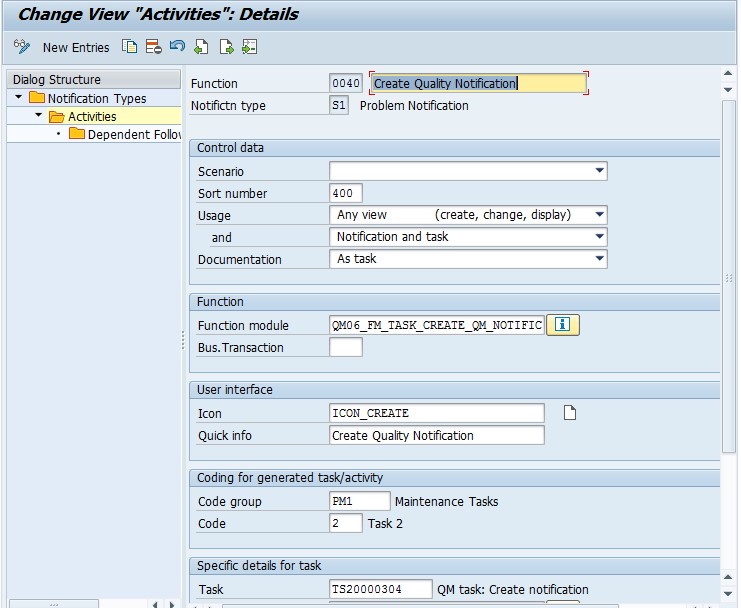
Find your notification type, and double click on Activities.
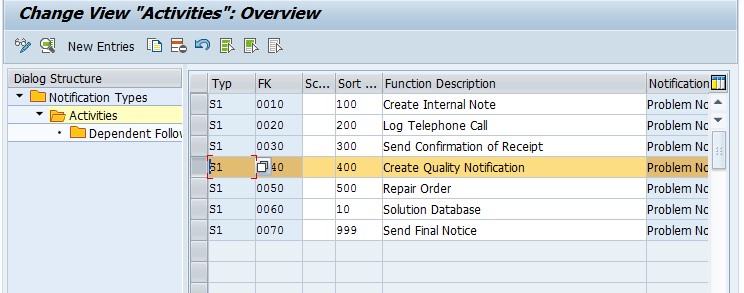
Pay attention to the Code Group/Code listed below. This code group needs to be assigned to a follow up function.
Green arrow back to SPRO
Select: Define Follow-Up actions for Tasks

Select: Define Follow-Up actions for Tasks
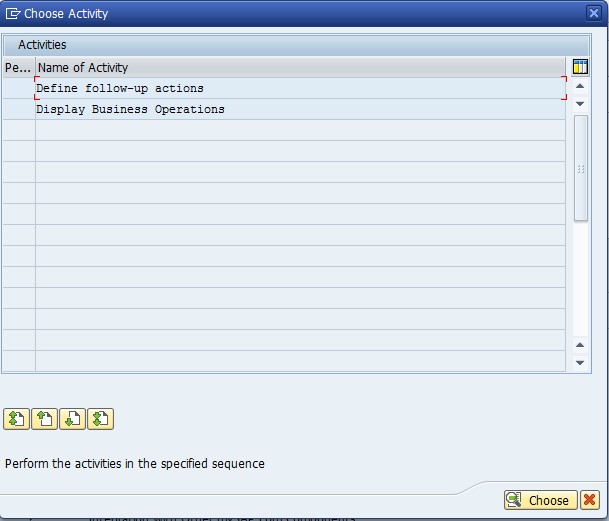
Select Define follow-up actions
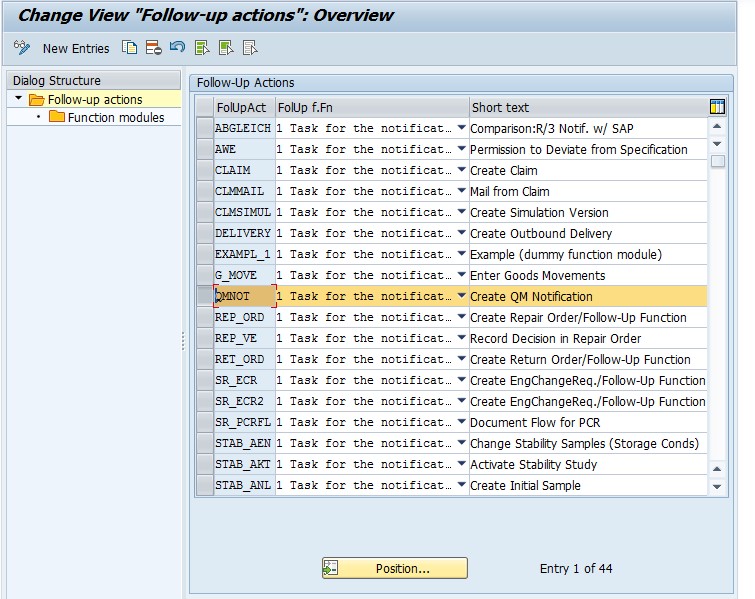
Select an existing item, or create a new one. Double click on Function modules
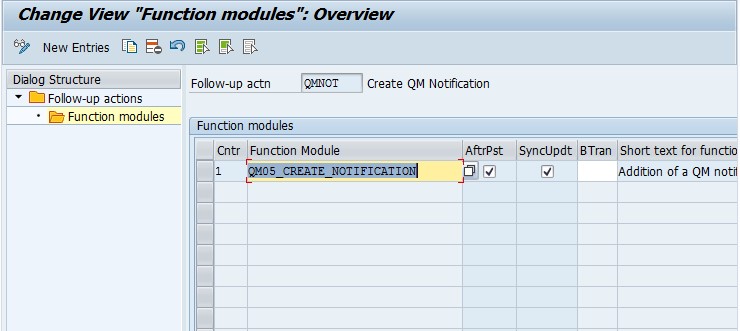
Add or review the function module listed. Save and green arrow back.
Next we need to assign this to the code on the action box entry.
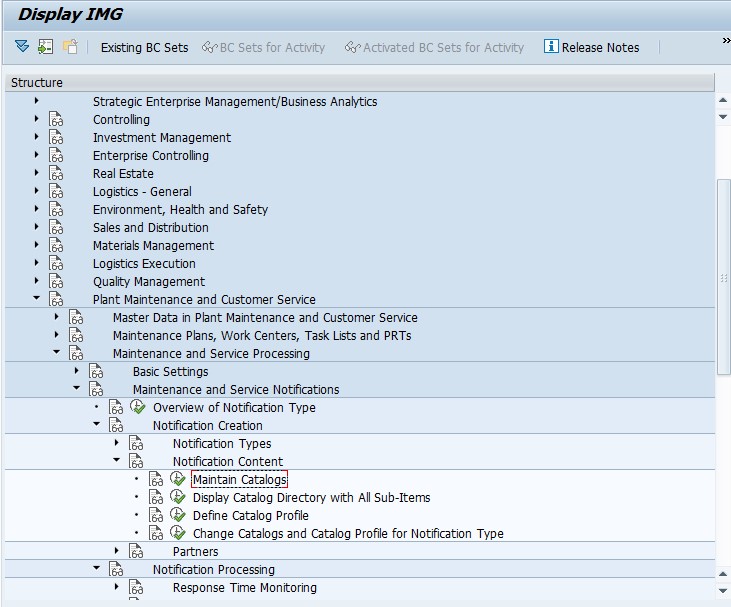
Select Maintain Catalogs

Select Edit Catalogs

Enter in the catalog for Tasks (default = 2)
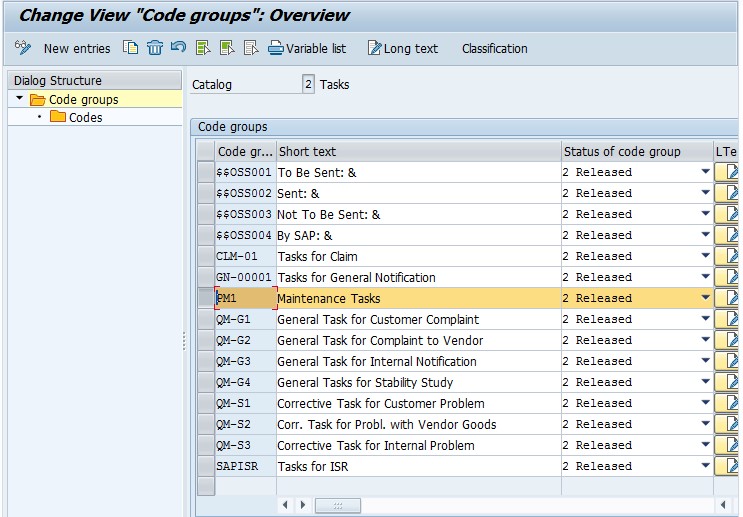
Find the code group and double click on Codes
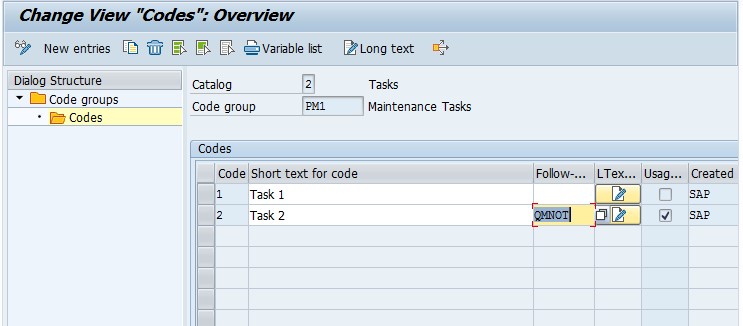
Find the specific Code and add the follow-up action you added above.
Save.
Now test your action box.
Thanks for reading,
Very nice document. Keep the good work on man