Variant Configuration – SSC find_or_create to instantiate automatically

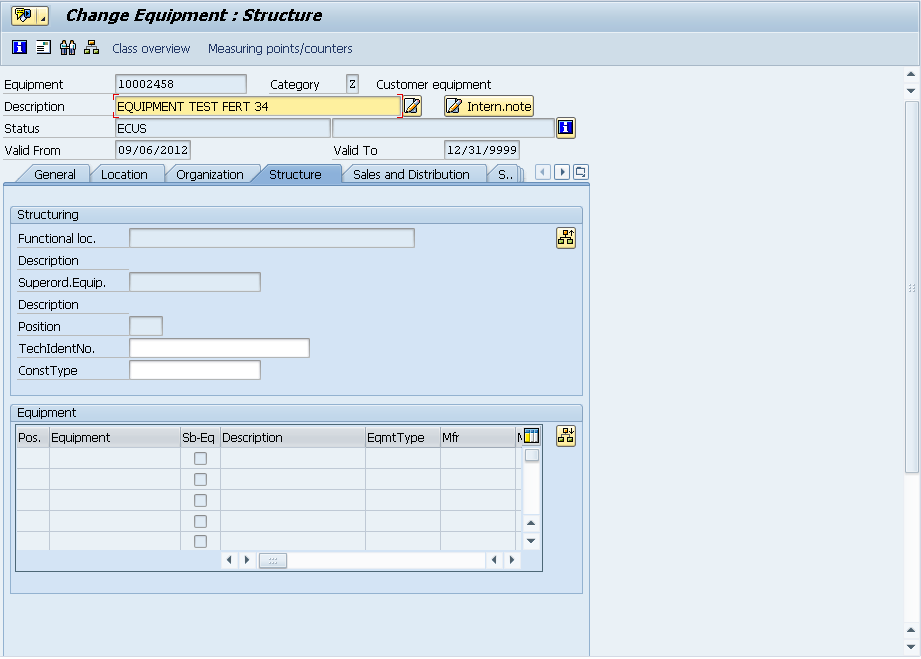
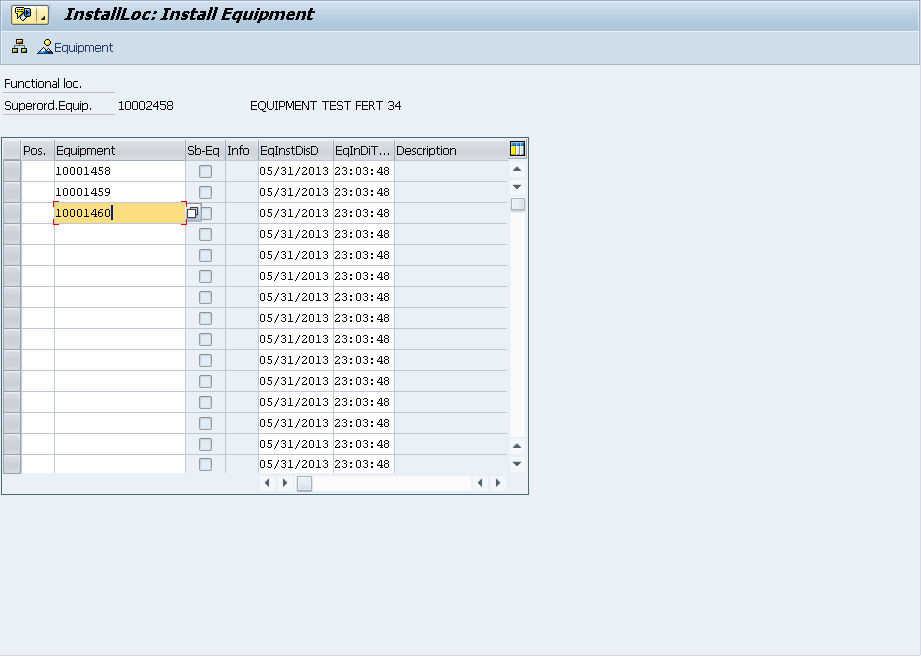
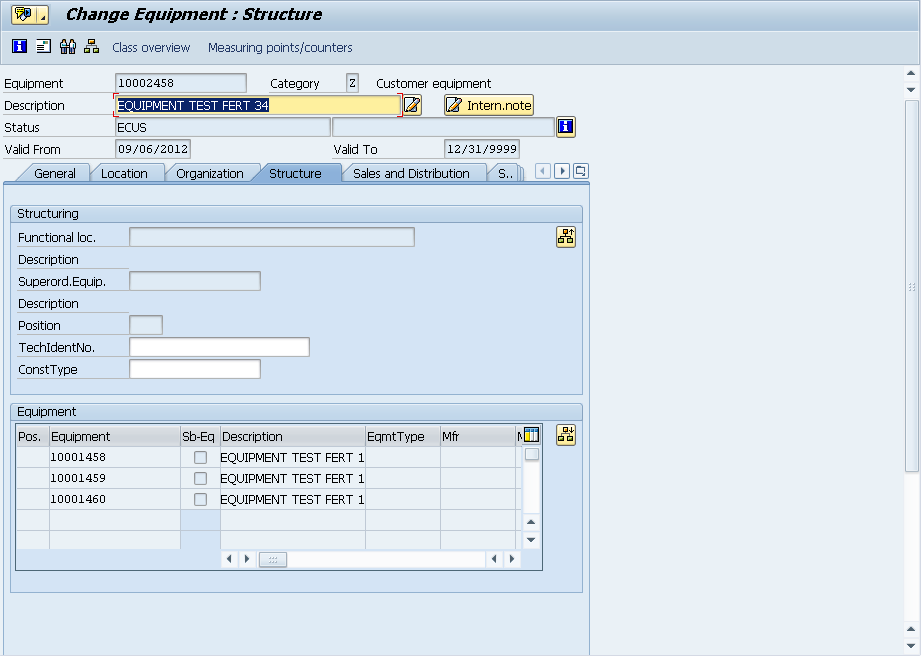
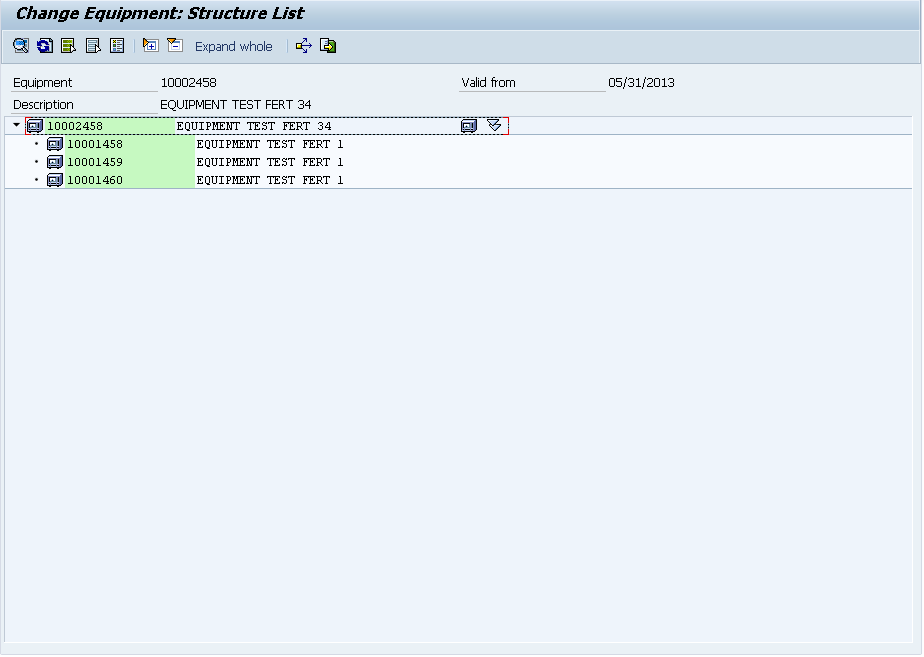
As you’ve probably noticed, I’ve been spending a lot of time with the SSC and trying to create my first major model.  Needless to say, I keep learning new tricks, so I don’t want to lose them.  Today I want to talk about using the find_or_create statement to perform automatic instantiation for a material or a class.

find_or_create ((300) CLASS_NAME,
with
CHAR1 = 1;
CHAR_PARENT = ?S;
CHAR2 = ’48’ )
or

find_or_create ((material)(300)(nr=material_number) )

You can see that there are 2 distinct approaches.  The first is instantiating a class, the second a material.  Let’s start with the class, just like in any constraint based syntax, the find_or_create statement requires a class type (normally, 300), followed by the class name.  Now, to keep things fun, you can add the with statement, and it will pass values automatically to the instance.  Often, you will use an ADT (abstract data type) to signify who the parent is (notice CHAR_PARENT) listed above.  You can pass as many or as few values as needed.

The second version is the easiest…  combining the (material) and (nr=material_number), and bingo… you’ve instantiated a material (with no classification).

Now, if you’re familiar with the advanced mode modeling, the find_or_create statement appears to replace the has_part statement (at least I couldn’t make that syntax work in the SCC editor).

Now, here’s a tip with some power.

Variant Configuration – SSC Restricting characteristic domain using a variant table

I know…  the title was long winded, but there are just so many variations that I needed all those key words to make sure you know what the hell I’m talking about =)  Restricting characteristic domain in the SSC is of course a great trick, and if you can use a variant table, that makes it even more powerful.  So I wanted to talk about restricting characteristic domain inside of the SSC Eclipse editor.

So, this again, all starts with a constraint net, and a constraint.  The net I’ve already talked about in my post SSC Syntax of Constraints.

So here is a sample of a constraint that restricts characteristic domain using a variant table.

constraint RSTR_STUFF_CSTR {
name “Restrict Cstic Values”
objects:
?S is_a (300)CLASS_NAME
restrictions:
table STUFF_TYPE (
DATA1_QTY = ?S.domain DATA1_QTY,
DATA2_QTY = ?S.domain DATA2_QTY
)
inferences:
?S.domain DATA1_QTY,
?S.domain DATA2_QTY
}

Now, I’m sure you’ll notice that using constraints is the same as in the original ERP modeling environment for Variant Configuration.  The big addition is in the domain statement.  Now, one of the tricks to remember is that you don’t appear to be able to use the domain and straight assignment within the same constraint (I tried, and couldn’t make it work.  so if there’s a way, let me know).  In this example, I have 2 characteristics, and I want to restrict them against each other using the table STUFF_TYPE.  everything is normal, except the domain statement.  Also, be sure to include the domain statement in the inferences as well, and you’ll be good to go.  Another thing I’ve used all the time in standard ERP, moved to the new world of the SSC.  Don’t worry…  I’m sure I’ll be covering more enhanced behavior as I figure out exactly how to use it.

Thanks for coming along on my journey,


Variant Configuration – SSC Creating a variant table using variantTable

Well, if you’re anything like me, variant tables are a staple of your model.  So, being able to add variant tables into your SSC model is obviously a requirement.  While the entry of them is substantially easier then entering them into CU60, it still comes with some hassles, mostly just understanding the syntax.  So I thought I’d share the basics with you today on the variantTable statement.  First, here’s a sample of a variantTable statement:

variantTable MOTOR_TYPE {
name “Motor Type”
characteristics
RPM_QTY primary,
CYLINDER_QTY primary,
MAX_HP,
rows
“1000”, “2”,   “50”;
“2000”, “4”,   “100”;
“3000”, “4”,  “400”;
}

So, when you see it like this, it’s pretty straightforward.
The characteristics are either key fields (primary is the key word used in SSC) or just straight values.  Enter in all the cstics that you need for columns.
The next piece is the rows.  You need data in your table.  I’ve shown 3 rows, with 3 columns, but obviously, you can do more 🙂  The big thing to notice is that each value has double quotes (“) around it, then you follow it up with a comma (,) to show that you’re moving to the next column, and finally use a semi-colon (;) to show it’s the end of the row.

And that’s all there is to it.  The variantTable is extremely handy, and now you know how to enter one into the SSC.  Hope it helps you out.  In a future post, I’ll talk about using the table in a constraint.  Thanks for learning with me =)


Variant Configuration – SSC Type_of Statement

In my recent experiments with Eclipse and the SSC, I’ve discovered the Type_of statement.  Maybe this existed in the standard advanced modeling, but since it’s all new to me, I wanted to make sure that I capture what this means and how it can be used.

constraint RACK_MTLS {
name “Add Materials to the Rack”
objects:
?C is_a (300)CLASS_NAME
restrictions:
type_of(?C,(material)(300)(nr=material_name))
}

Now the thing with the type_of statement is that it allows you to instantiate a material.  So for example, I was playing with a configurable material, call it a rack.  Now the rack has some components that are required for part of the system, but they are contained at the rack level.  Well, the component could have multiple iterations.  So I add the type_of statement above, and now from the rack, I have the ability to instantiate material_name.  material_name can be configurable, or just a component you want to add to the system multiple times.  The next thing I plan to tackle is how to automatically add it to the configuration based on some rules.  In the meantime, type_of is another trick I’ll keep in my back pocket.

Thanks for learning with me,


Website – Test your contact page

Well, I just learned a valuable lesson (the hard way as always).  I recently got a voicemail from a perspective customer trying to get in touch with me.  She mentioned that she had sent us an email from the contact page, but I never got it.  Needless to say, that was weird…  so the first thing I did was go the contact page and send myself a message…  strangely enough, it never came through.  So I went to the webpage configuration…  and found that the email that was set up didn’t exist.  UGH!!!  so now I sit and question how many leads did I miss out on???

Anyway, learn from me, test all of the methods on your website that can be used to contact you.   contact pages, phone numbers, etc…

Service Management – Equipment Hierarchy

Today I’m heading back into the Service Management realm.  I wanted to talk about something that is relatively simple, yet immensely cumbersome in practice.  That’s right, the equipment hierarchy.  When I say the equipment hierarchy, it may also be known as the equipment structure.  It is the process of linking serial numbers/equipment records into a structure or hierarchy.  The principal is very simple, and I’m going to walk through the process.  After the process, I’ll explain what makes it all so cumbersome (if you haven’t already experienced the pain).

If you go into any equipment record and go to the structure tab.blog-01

in the bottom portion, you’ll find the button:  blog-02 to structure the hierarchy.

blog-03

On this screen, you simply enter in each equipment record that belongs at this “level”.

blog-04

Now you can see that a structure exists.  If any of the equipment records in this list had their own equipment hierarchy, you’d see the Sb-Eq box checked.

Now at the top of the page, you’ll see the button:  blog-05  and it will bring up the entire structure report.

blog-06

My example was pretty simple, but it would also show functional locations, and would show the entire explosion.  So, pretty easy, right?

now, the problem comes into maintaining this.  Up to this point, I’m not aware of any automated way to capture the hierarchy.  Say for example, have a production order with the top level material being serialized, and you use several other serialized components to assemble it.  You must now manually create that structure (now make it worse, and say it’s a production order for 50, you have to repeat the process 50 times).  The issue becomes complicated because you may issue 50 serialized components to make 10 finished goods.  Which 5 items went into which finished product???  Without a high amount of diligence, it becomes highly manual and extremely difficult to maintain automatically.  I’ll be talking more in the future about some methods to begin capturing this information.

Thanks for reading,


Web Dynpro – reset_view

Here’s a cool little trick that I picked up in order to make my dynamic screens even more dynamic.  The reset_view statement turned out to be the piece of the puzzle I needed in order to to have a dynamic screen with multiple variations.  While this may be outside the norm, it’s still a great little trick, and let me show you why.

Here’s the scenario.  I’ve created a view with a set of dynamic elements.  Now the trick comes in that depending on the scenario, even that dynamic screen might change.  When I first set it up, I kept getting a short dump because the system was trying to recreate dynamic elements that already existed.  By adding the statement:

  view->reset_view( ).

at the beginning of the WDDOMODIFYVIEW (which is where I do all of my initialization for the view) that reset the stage, so that I could “rebuild” the view with any elements that I needed.

While this isn’t earth shattering, it just might be the trick you need to keep your ideas flowing.

Thanks for reading,


CRM – Contact Tags

Now that we have a CRM system up and running, and we have our contacts all loaded, we’re slowly learning how to merge them into a cohesive contact list.  But it certainly didn’t just fall into place.  🙂  Once we picked our CRM system (we ended up choosing capsulecrm), the next task was to add contact tags consistently.

This sounds like a simple task, but believe me, even terminology that seems clear can easily be interpreted  in different way.  When my partner uploaded his contacts, first they had no tags.  Then when we loaded up the tags, I proceeded to update the mailchimp mailing lists.  This all seemed to be rolling along great.  Until my partner took a look at the lists and started asking where some of the contacts were.  I looked in the mailing list, and proceeded to determine that several hundred contacts were in the wrong list.  So that meant I needed to delete them from the mailchimp lists, and then go back to CRM and change the contact tags.  After a few hours of rework, I thought we were ready to try again…  So I asked Mike if all the changes were good, and he told they were.  So to be sure, I took a look at a few of the contacts and asked Mike what list they should go in…  again, we were off the mark.

So, today, after some going back and forth, I finally got a clue and documented the tags and listed what mail chimp list each list should move to.  So, the lesson learned is document early and save yourself a bunch of rework =)

thanks for reading.

Marketing – improving the SEO of our blog posts

Lately, I’ve had to put more time and effort in my marketing.  One of the things I learned is to improve the SEO (Search Engine Optimization) of my blog posts.  One of the major things I missed when I wrote most of my blog posts is the use of the little SEO traffic light provided by Word Press.  While it may not be the best, it at least gives me an idea of when my post has a chance for a search engine like Google to find my posts.

The idea is that if my posts could actually be located in a Google search (or Bing, or etc…) means more people might start finding my posts (exactly like you did).  Since I’m still on the hunt for second customers, the more people that see my blog the better.  If you aren’t familiar with the concept of the second customer, it’s the consultants, friends, or former clients that know and trust me enough to recommend me to others that might be able to use my software creations.

Well, to get back on track, I completely skipped entering the metadata tags for each of my posts.  Thus it made it that much harder for people to find my blog posts.  So my latest mission has been to go back to all of my posts and enter in the metadata.  In addition, I’ve been cleaning up titles and adding some keywords to try to get all of my “best” posts into the green.  So, take my advise.  If you start blogging, start early and get as many posts into the green for SEO as possible.  It’ll help you in the long run.

Thanks for reading.


Variant Configuration – OEWB Parameters

In the cool Order Engineering Workbench (OEWB) for Variant Configuration there are a number of settings that you can control using the OEWB Parameters.  Today I’d like to talk about the ones I’m familiar with.  While this topic should be a simple one, I’ve had a tough time finding any documentation on exactly what these parameters do and why they should be set one way vs. another.

/OEWB/P_COCH    X       OEWB: Copy Characteristic Values – this is used when attempting to insert another configurable material or classified materials below a configurable materials.

/OEWB/P_EXPL      X      OEWB: New BOM Explosion – Component – if there are char. values on dragged component, structure will be reexploded on drop later.  This is for configurable materials.

/OEWB/P_INST       X      OEWB: Instantiation – this allows you to instantiate a material multiple times within a single BOM.  Beware of potential performance issues if you use this functionality.

/OEWB/P_NOFX      X     OEWB: Changes Possible Without Fixing – this has to do with “fixing” which locks the BOM as it currently is, and can only be changed manually going forward.  This is also used in conjunction with adding a material below a configurable material.

/OEWB/P_NORF     X      OEWB: Changes Without “Really Fix” – this is used in conjunction with P_INST & P_EXPL.

/OEWB/P_OBOM     X     OEWB: Entry with Order BOM Instead of Version

/OEWB/P_SAVE       X     OEWB: Save Without Leaving – this one is a pretty obvious.  If this isn’t set to X, then everytime you save, you leave the /OEWB/MAIN screen.

/OEWB/P_COAD              OEWB: Copy with Advanced checks – If this parameter is switched on, the configuration (of configurable materials) is copied and manual changes (insert, edit, delete of BOM items) of the source object are copied to the target. This also works multi level.  As a prerequisite, the functionality does just work if parameter “/OEWB/P_EXPL” is NOT set.  This parameter shall also influence copy of version data.

/OEWB/P_MATV              OEWB: Type Matching – this will allow type matching to occur within the OEWB.  This is likely to only be used for instantiated components.

Now some of these parameters I’m still trying to figure out, but not having access to the OEWB in my own system has made this challenging.  If I get a chance to get back into the system, I’ll add more details to these, but for now, at least you have my initial notes of the recommended settings (any of the items with an X).

Thanks for reading.


Posts navigation

1 2 3 75 76 77 78 79 80 81 97 98 99
Scroll to top